How to Install Ubuntu on VirtualBox on Windows 11.

Table of Contents
1.Introduction.2.Requirements for installing Ubuntu on VirtualBox.
3.Virtualization.
4.Install VirtualBox & Extension Pack on Windows.
5.Setup Ubuntu 22.04.3 LTS on VirtualBox.
6.Install Ubuntu 22.04.3 LTS on VirtualBox.
3.Virtualization.
.png)
.png)
After the download is over, open the file and keep clicking on "Next".
.png)
.png)
.png)
Then, click on "I Agree".
.png)
.png)
The Ubuntu ISO file is going to start downloading and will take quite some time.

6.Install Ubuntu 22.04.3 LTS on VirtualBox.
1.Introduction.
VirtualBox is an open-source virtualization software developed by Oracle. It allows users to install a large number of guest operating systems on hosts such as Windows, Linux, MacOS and Solaris.
2.Requirements for installing Ubuntu on VirtualBox.
- Minimum 2 CPU cores
- Minimum 4GB RAM
- Minimum 25GB storage
- 64-bit operating system
- Stable internet connection
Before you can install VirtualBox, you need to make sure that virtualization is turned on your computer.
To do so, press CTRL + Shift + ESC to open Task Manager.
Then, go ahead and click on "Performance" and then on "CPU".
.png)
If "Virtualization" is disabled on your computer, you can turn it on by going through your BIOS/UEFI settings.
I recommend you watch this YouTube video on how to enable virtualization on Windows 11.
4.Install VirtualBox & Extension Pack on Windows.
VirtualBox & Extension Pack can be downloaded from here: VirtualBox Downloads
Click on "Windows host" and "VirtualBox.exe" will start downloading.
.png)
Go on and click on "Install".
Finally, tap on "Finish".
Once the installation process is over, the VirtualBox window will open as shown below.
.png)
Now, we can go ahead and download VirtualBox Extension Pack from here: VisualBox Downloads
Click on "All supported platforms".
.png)
Once the download is complete, open the file and click on "Install".
.png)
Then, click on "I Agree".
.png)
We are now done with the installation of VirtualBox and its Extension Pack on Windows 11.
You can check out this YouTube video for further details on how to install VirtualBox and Extension Pack.
5.Setup Ubuntu 22.04.3 LTS on VirtualBox.
Ubuntu 22.04.3 LTS can be downloaded from here: Ubuntu Desktop Downloads
The LTS or Long-Term Support version is recommended as it is supported for 5 years.
Once you are on the download page, go ahead and press on "Download 22.04.3".
.png)
The Ubuntu ISO file is going to start downloading and will take quite some time.
Once download is finished, open VirtualBox and click on "New" to create a virtual machine.

Enter "Ubuntu 22.04.3" as the Name, select "Linux" as the Type, and choose "Ubuntu (64 - bit)" as the Version.

Select the amount of memory space (RAM) and processors to be allocated to the virtual machine.

Select the size of the Virtual Hard Disk.


Now, we have to enable some extra features.

Next, we will provide the location of the Ubuntu ISO file.


Use arrow keys to move up and down, choose "Try or Install Ubuntu" and press on Enter key.

In the "Updates and other software" section, check "Install third-party software..." and click on "Continue".

In "Installation type", check "Erase disk and install Ubuntu" and click on "Install Now".

Click on "Continue".


Now, setup your profile and click on "Continue".
Ubuntu will begin installing.
Once the installation is complete, click on "Restart Now".
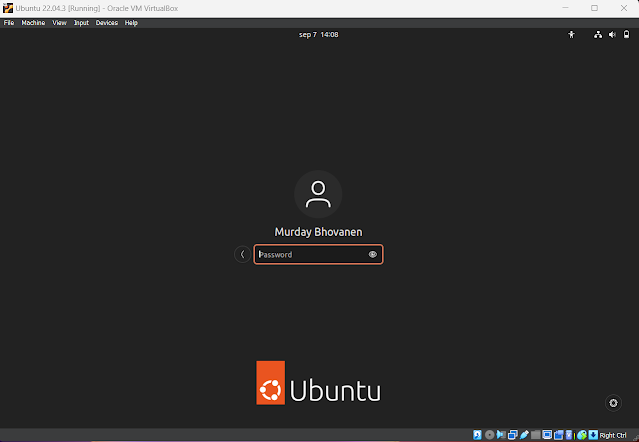
Log into your account using the password you provided at the time of installation.
If you try to maximize the Ubuntu OS, you will notice that it does not resize according to the size of the Windows desktop.

So, you need to install the VirtualBox Guest Additions on our Ubuntu OS.
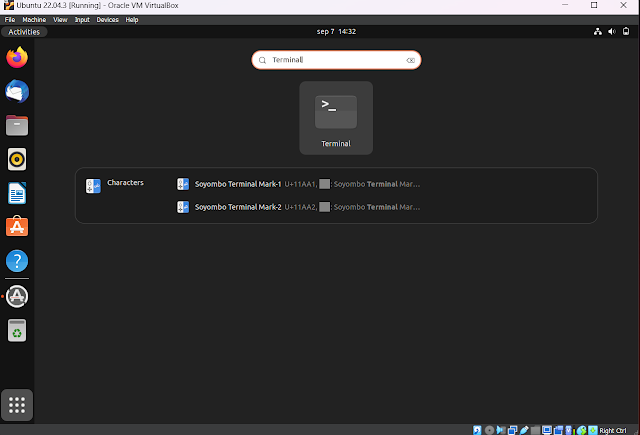
Search for "Terminal" and open it.

Once the second command has been executed, we can install the VirtualBox Guest Additions.
.png)
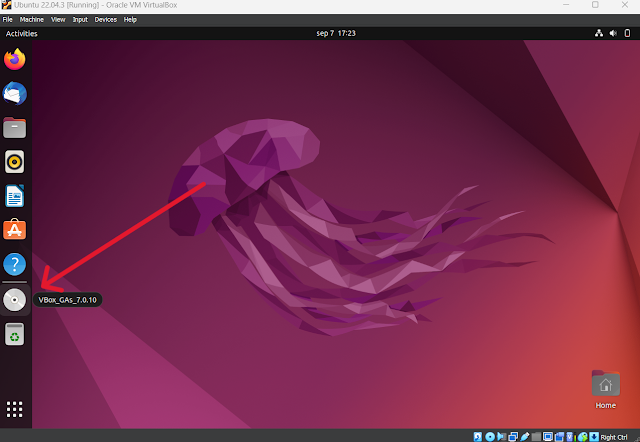
Click on the CD icon.
.png)
.png)
.png)
.png)
.png)
.png)
You can log back into your account and now when you maximize the Ubuntu desktop you can see it resize according to the size of the Windows desktop.
Click on "Next".

Select the amount of memory space (RAM) and processors to be allocated to the virtual machine.
Note: It is recommended not to allocate more than 50% of your RAM and processors.
Click on "Next" on to proceed.

Select the size of the Virtual Hard Disk.
Note: The default size for creating a Virtual Hard Disk is to 25GB but you can increase it if you wish.
Then, click on "Next".

Click on "Finish" and you'll see "Ubuntu 22.04.3" has appeared on your dashboard.

Now, we have to enable some extra features.
Select the Ubuntu virtual machine and click on "Settings".
Under the "General" section, click on the "Advanced" option.
Choose "Bi-directional" from the drop-down menu for both "Shared Clipboard" and "Drag'n'Drop".
This will allow you to share files between the host machine (Windows 11) and the virtual machine (Ubuntu).

Next, we will provide the location of the Ubuntu ISO file.
To do so, click on "Storage" and under "Controller: IDE", press onto the "Empty".
In "Attributes", click on the disk icon and "Choose a disk file".

Go to where your Ubuntu ISO file is located, select it and click on "open".

Once we are done, click on "OK".
Your Ubuntu OS is ready to install on VirtualBox!
Install Ubuntu 22.04.3 LTS on VirtualBox.
Select your Ubuntu virtual machine and click on "Start".

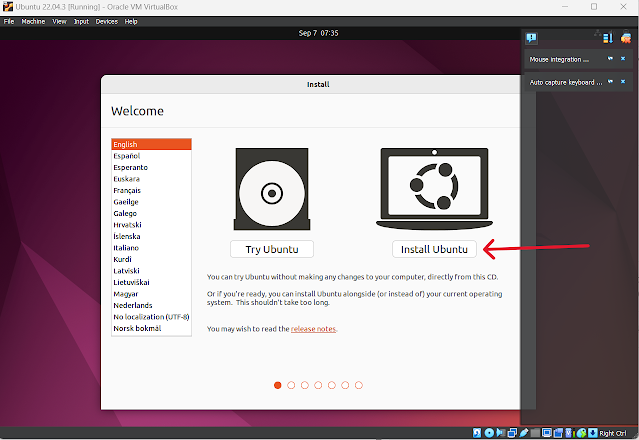
Use arrow keys to move up and down, choose "Try or Install Ubuntu" and press on Enter key.
Select the language of your choice and click on "Install Ubuntu".
Select your keyboard layout and click on "Continue".

In the "Updates and other software" section, check "Install third-party software..." and click on "Continue".

In "Installation type", check "Erase disk and install Ubuntu" and click on "Install Now".

Click on "Continue".

Choose your current location and select "Continue".

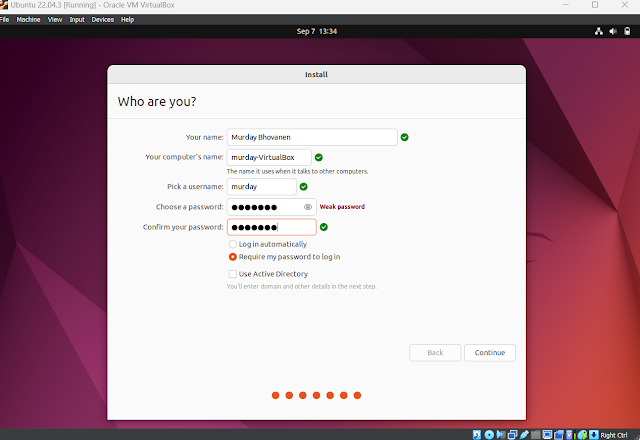
Now, setup your profile and click on "Continue".
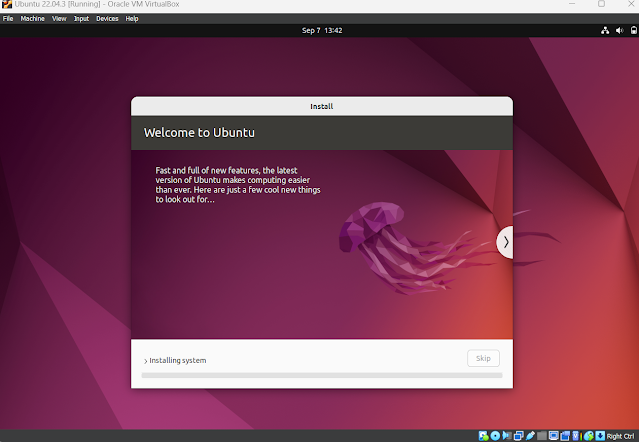
Ubuntu will begin installing.
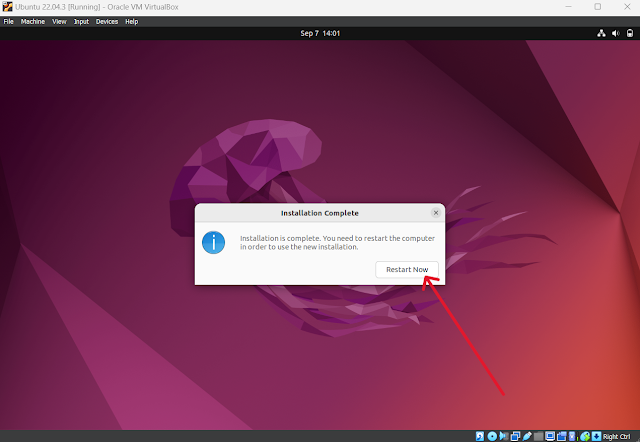
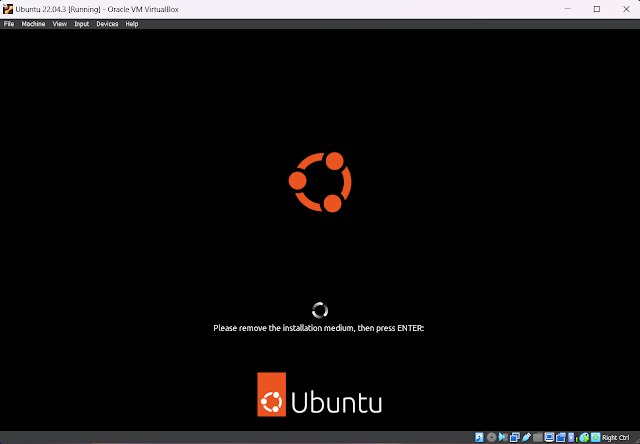
Once the installation is complete, click on "Restart Now".
Press Enter key.
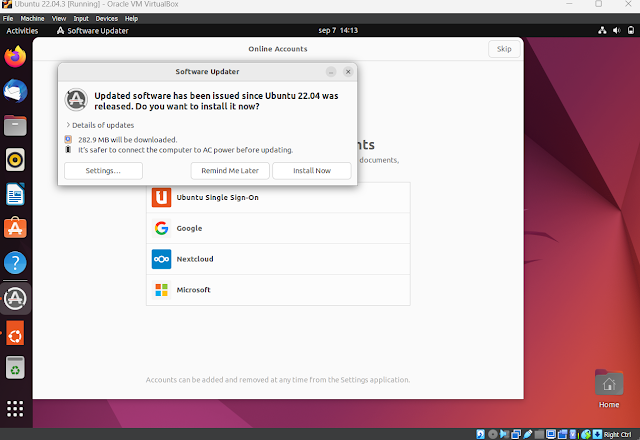
If a software updater window pops up, click on "Remind Me Later".
You can connect your online accounts if you want else click on "Skip".
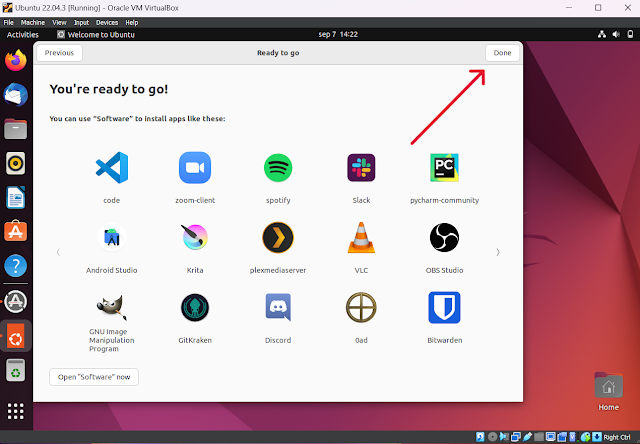
Continue by clicking on "Next" and "Done".
So, you need to install the VirtualBox Guest Additions on our Ubuntu OS.
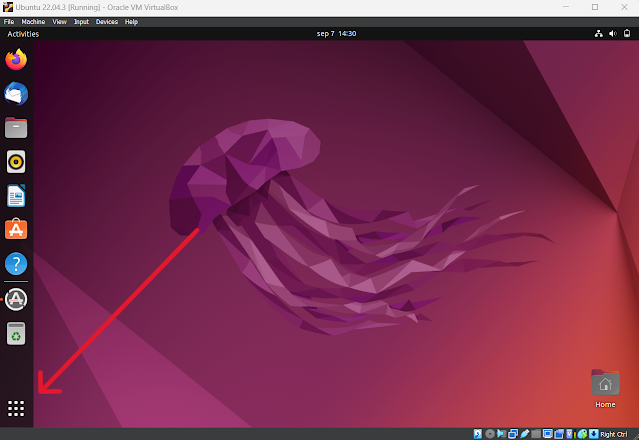
To do so, click on "Show Applications" on the bottom left corner.
You can also do so by pressing on CTRL + ALT + T.
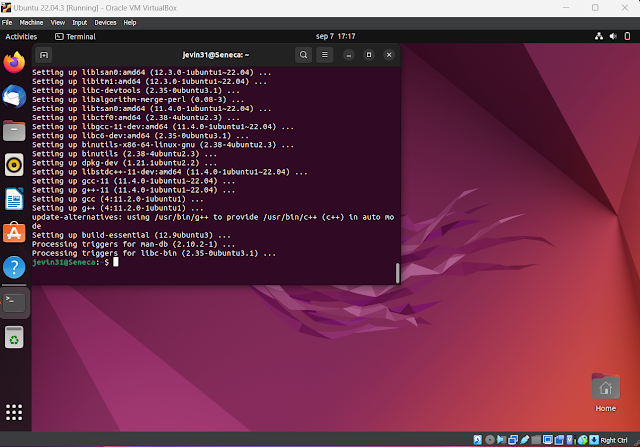
In the terminal, you should enter two commands:
1. sudo apt update
You will be prompted to enter your password and then press Enter.

Once done, copy and paste the second command.
2. sudo apt install build-essential dkms linux-headers-$(uname -r)
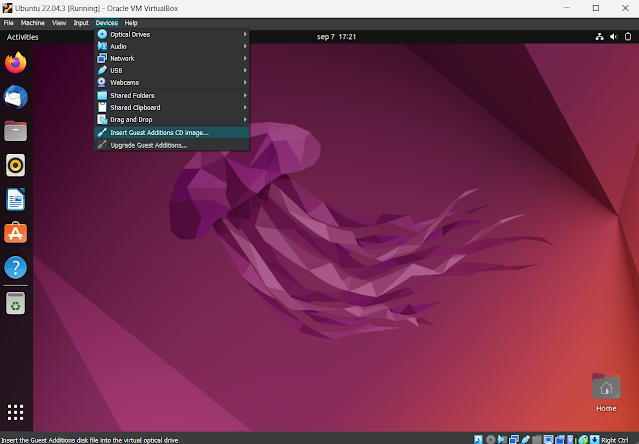
Once the second command has been executed, we can install the VirtualBox Guest Additions.
Click on "Devices" and then on "Insert Guest Additions CD image..." option.
Click on the CD icon.
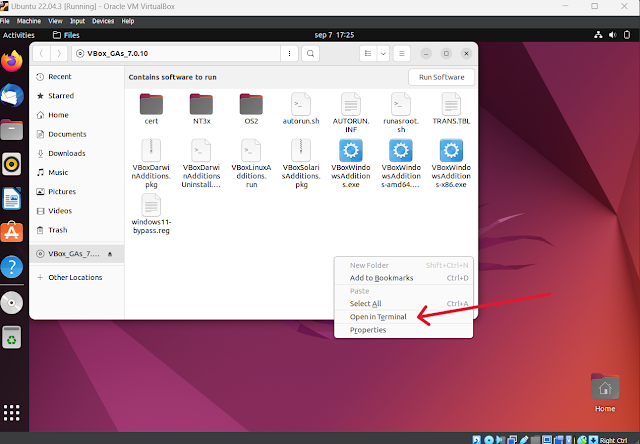
Right inside the folder and select "Open in Terminal".
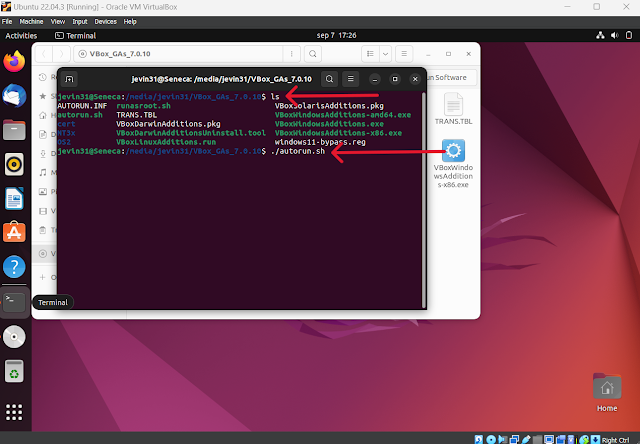
Enter the ls command to see the file name and press on Enter key.
Then, enter ./autorun.sh command to run the file.
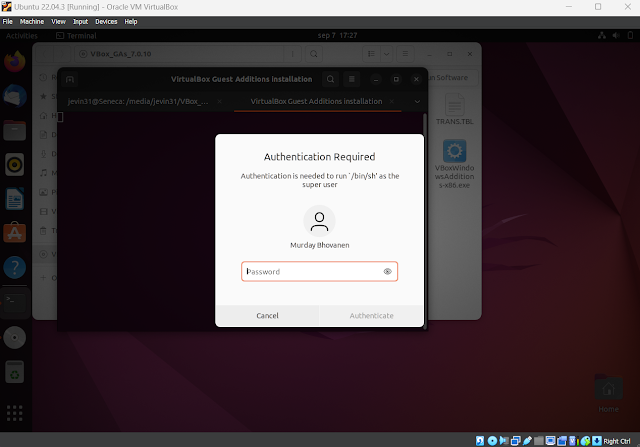
Enter your password and click on "Authenticate".
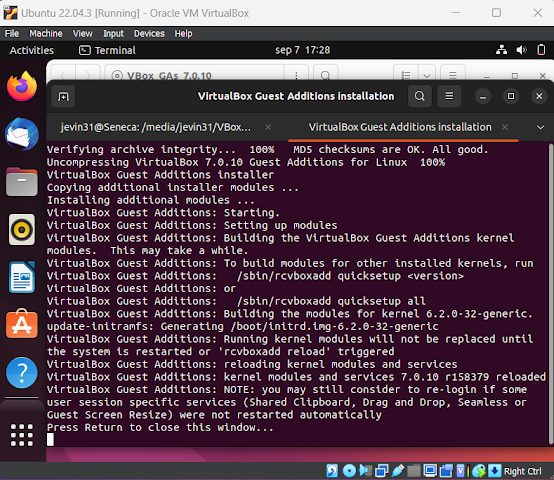
The installation of VirtualBox Guest Additions will start.
Press Enter key to close window.
In order to complete the installation, you need to restart the Ubuntu virtual machine.
Close the terminal.
Click on the top right corner where there are three icons, and select "Power Off/Log Out"
Finally, click on "Restart..."
You can log back into your account and now when you maximize the Ubuntu desktop you can see it resize according to the size of the Windows desktop.
You have successfully installed Ubuntu on VirtualBox under Windows 11!
7.Conclusion.
You can now benefit from all the advantages of the Ubuntu operating system directly from your Windows PC.
To get started on writing command lines, go ahead and check out the blog post below.
If you require further details about the installation process, please click on the link below.


Comments
Post a Comment